How to Setup Puppy Linux With Ventoy
Posted on Fri 01 August 2025 in general

Like many people in the 2020s, I travel a lot. I work in a different city to the one I live in, and spend a few days in one place and a few days in the other. I don't really mind travelling, but it comes with a few inconveniences.
One of them is having to haul all my stuff around between multiple locations. Sure, I have a laptop, but hauling it hundreds of miles every week is a pain, not to mention it risks getting damaged with so much time on the road.
What else can I do? Well, I could set up a desktop (or a semi-permanent laptop) at each location I work at. But then I have to figure out how to shuffle data between these devices, not to mention keep track of several physical devices.
I could work in the cloud and set up a development server, but then my ability to do stuff is tied to internet access and the tools I have available on my client systems. Railway tunnels passing through Asian mountain ranges do not have great mobile internet access.
I've experimented with portable distros before, specifically Slax, but never took up the cause seriously. At the time my use case wasn't strong enough, and I could never figure out how to get Slax to behave consistently on save. Unlike Slax, I managed to debug most of the issues with Puppy Linux over a weekend.
Puppy Linux is probably the most popular portable Linux distribution. Unlike most Linux distros it isn't usually installed; it's meant to run off a CD or USB drive. Unlike most LiveCDs you can save your Puppy configuration to a USB drive and continue your session later with system settings intact.
For this configuration I used BookwormPup64 10.0.7, which is a Debian Bookworm
version of Puppy.
I also used Ventoy, which is a tool which lets you load many different ISOs from a USB stick, and use it as storage at the same time. If you're an IT professional or enthusiast, it's worth a try just to have Clonezilla and GParted available at the same time.
Setting Up The Drive
First, get a USB drive and format it to MBR or GPT partition scheme. MBR has more compatibility while GPT is more modern and flexible. I chose MBR as my goal was to make a USB that would work on as many different host systems as possible.
Next, use Ventoy to flash the USB drive. Make sure you backup any data you want
to keep first, as this will erase the disk! You can find detailed instructions
for how to do this on their website.
I used the Linux CLI script Ventoy2Disk.sh.
However you install Ventoy, make sure you reserve some additional space for a data partition. This is because Ventoy will format its partition as exFAT, which Puppy doesn't recognise for making saves.
Make a folder on the Ventoy partition called something like ISOs and drop your Puppy Linux ISO into it.
Next, create the data partition. You can either use FAT32 or ext4. Some features of FAT32:
- It's compatible with every major OS and most legacy hardware, so it's a good choice for flexibility.
- However, it's not natively supported by Linux, so it can take extra work to use it as a data partition.
- It also limits your save file sizes for Puppy to a maximum of 4GB.
On the other hand, ext4:
- Is only compatible with Linux, and Windows and MacOS have poor support for it.
- Is a native Linux configuration, so it gives you the most flexibility if you're committed to using it only on the Linux ecosystem.
- Will allow you to have uncapped file sizes or use a folder for saving data.
I went for ext4 and allocated 16/64GB on my USB drive to it. This is probably the simplest setup since Ventoy is already formatted to exFAT and should therefore be available as a storage partition on most systems.
If you're on a Linux system, make a note of the device name of your USB by using
lsblk.
Optionally, you can create a Linux swap partition on your drive to get some free RAM (or more realistically, guarantee you have a decent amount of RAM available).
Next, create a folder called /sessions, /puppy-saves or similar on the
partition you want to setup your Puppy files on. This is where the changes you
make to Puppy will live.
Now we need to reboot the computer and mess around in the BIOS a bit. On most systems you'll need to disable secure boot to boot a Linux USB. Secure boot is required for modern Windows installations, so remember to re-enable it again when you're finished if the host PC normally runs Windows.
Booting into Puppy
Reboot into the Ventoy boot manager and choose the Puppy ISO from the list of boot options.
You can boot in any mode, but grub2 is probably the most standard. Now you'll
be at the Puppy Linux boot menu. Press e to edit the default boot option and
add psave=$YOUR_DEVICE_NAME:/sessions to the end of the line that looks like
linux /vmlinuz pmedia=cd pfix=fsck,fsckp. For me the correct value was
psave=sda3:/sessions. The label of the partition may or may not work - it
worked on my daily driver, but not on my old Macbook. If you want to try it,
write psave=$LABEL:/sessions - for me psave=puppy:/sessions.
Press CTRL+X to boot...
...and wait a moment while the bootloader copies Puppy Linux into RAM.
After a while things will start to work, and you're booted into Puppy!
Puppy will give you a ton of setup options, but I recommend just setting the important ones - timezone, hostname, and display resolution. For me configuring the display was important since my laptop's screen is 14" but 2.4K resolution, meaning it's impractical to work on at native resolution and 1x scaling.
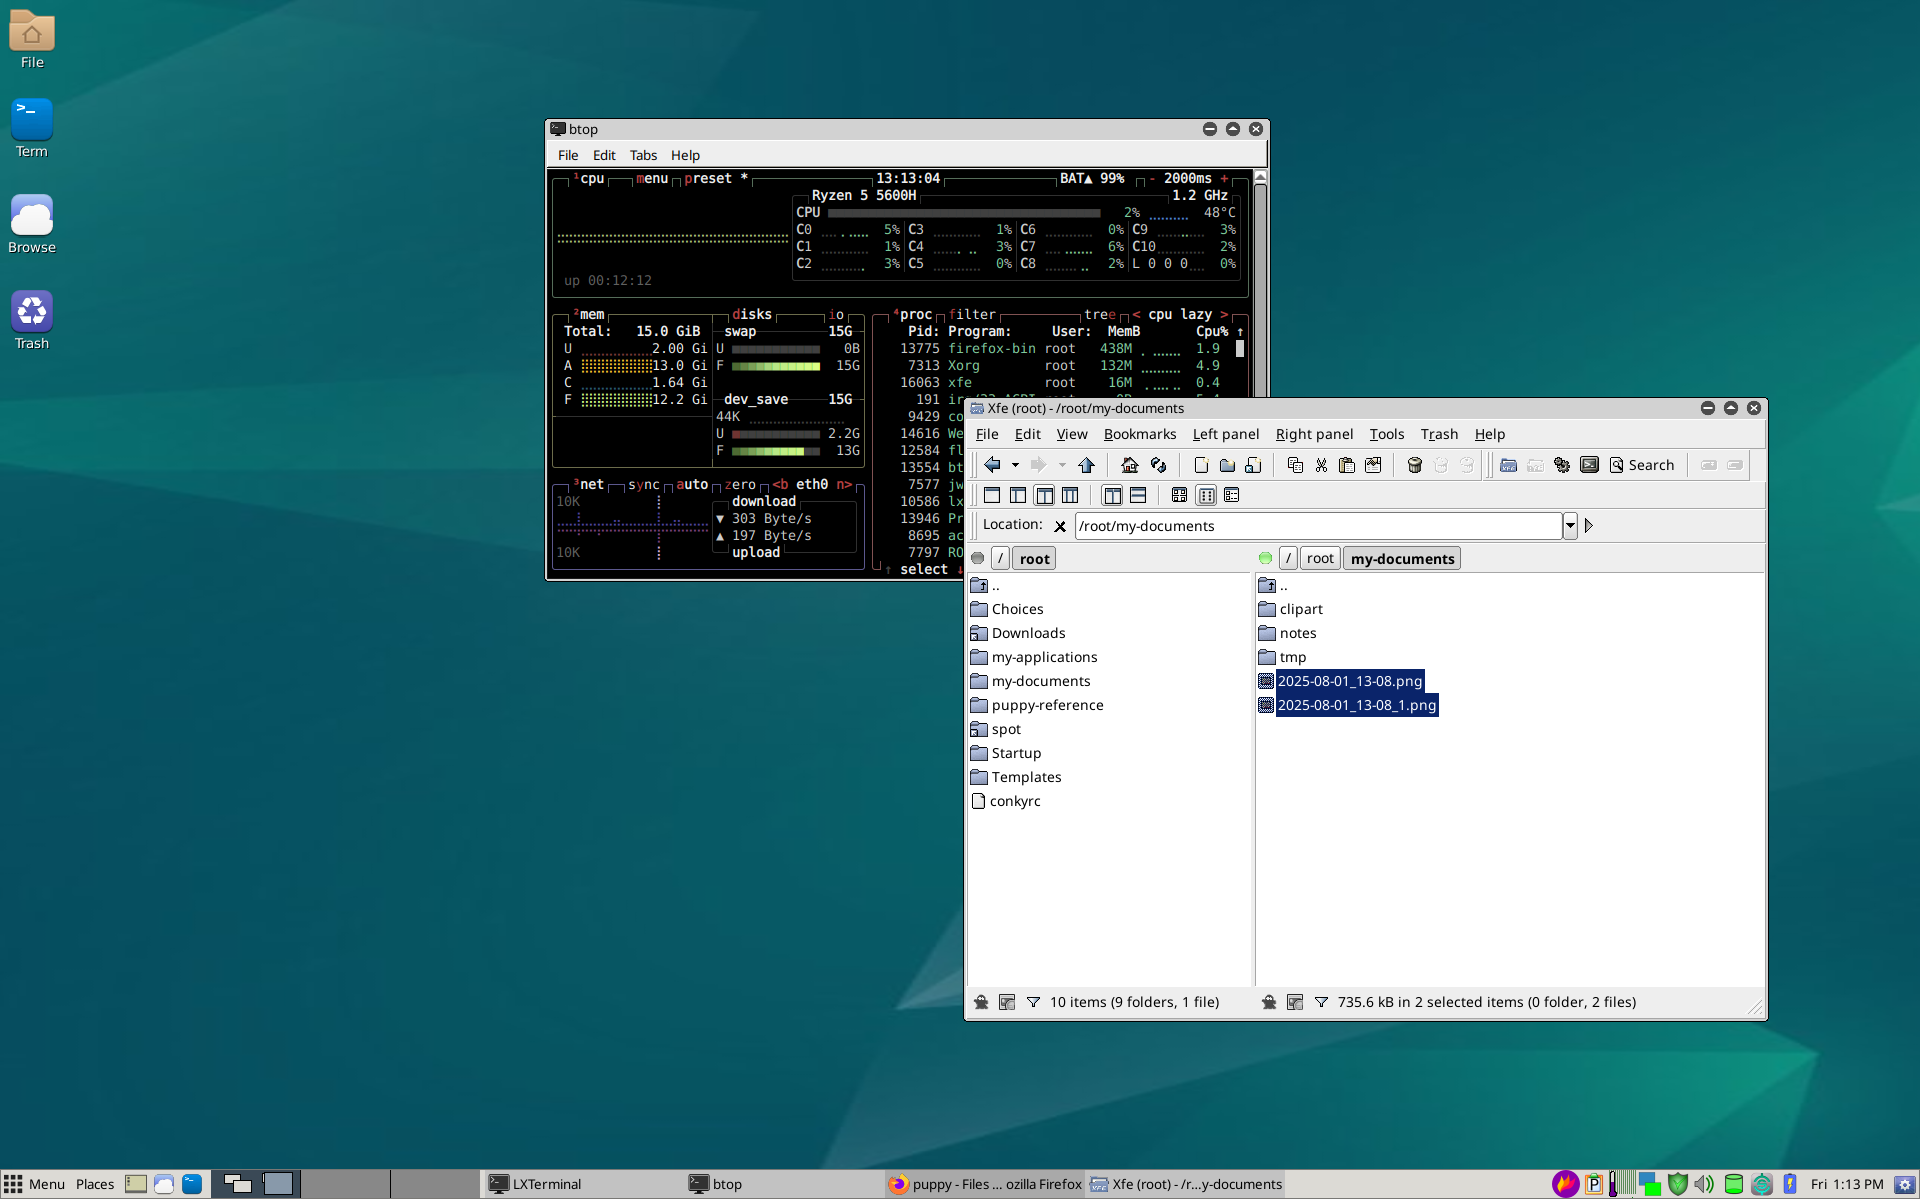
After it's set up, you can try out a few of the applications that are bundled with Puppy. Here I'm playing with the system monitor btop and collecting screenshots for this article:
Now, shut down Puppy. It should prompt you to create a savefile on the device
you selected (e.g. sda3) and give you some options about how large you want
your savefile to be, if you want to use a folder instead, etc. Since I was
installing on an ext4 partition I set up the save file in a partition.
If this worked, you'll see a shutdown message on the console noting that it's saving a puppy file to your chosen partition, and the computer will shut down.
Let's boot it back up. Follow the same process as last time to boot into puppy,
and remember to set the psave variable at the puppy boot screen. I found if
you don't do this Puppy can be a bit eccentric about choosing the correct
partition to save to.
Success! We managed to get Puppy running using a Ventoy image.
What comes next?
- Respin the Puppy ISO to have its grub.cfg options always point to the appropriate option.
- Check out this forum thread for more information.
- To go deep on the topic of liveCDs and frugal, USB, and full installs, read through the Puppy Linux docs.